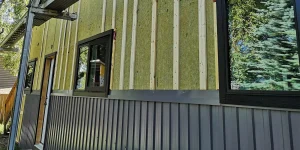
Older homes are leaky. Instead of heating and cooling the outdoors, you can use simple approaches to find drafts and seal them up. Your hard work will pay off with a more comfortable home and lower energy needs. And, when it comes to making your home more energy efficient, air sealing is one of the easiest and most affordable steps you can take. Air leaking out through gaps or cracks in your building envelope can represent between 20 to 30 per cent of heat loss in older buildings. So, let’s look at why air sealing should be at the top of your home improvement list and how you can start experiencing the rewards of an aptly sealed home.
What is air sealing and why does it matter?
Air sealing is the process of finding and fixing leaks around your home where uncontrolled air can sneak in or out. These gaps might seem small or insignificant on their own, but adding them all up and over time, it’s like having a large hole in your wall! That means cold drafts enter your home in the winter and your cool, air-conditioned air escapes in the summer. This makes your heating and cooling systems work overtime, leading to higher energy bills and an uncomfortable living environment that fluctuates in temperature.
The average home has gaps and cracks that really add up! By properly sealing these leaks, you can prevent uncontrolled air flow and maintain a consistent, comfortable temperature inside your home all year round. You can’t control the weather outside, but you can control the temperature inside!

The benefits of air sealing your home
1. Save money on energy bills
When you pay to heat or cool the air inside your home, it would be nice if it didn’t just escape out of cracks and gaps you can barely see! By keeping the warm air inside during winter and the cool air inside during summer, you’ll find yourself having to adjust the heating/air-con less often – and that translates into real savings.
2. Increased Comfort
There’s nothing worse than sitting on the couch and feeling a cold draft creeping in or noticing that one room is always hotter than the rest of the house. Air sealing helps create a consistent indoor temperature, eliminating those annoying hot and cold spots. You’ll enjoy a cozy, comfortable living space regardless of the season.
3. Improved air quality
Sealing those gaps doesn’t just keep your indoor temperature steady – it also helps improve your indoor air quality. Dust, pollen, and other outdoor pollutants can enter your home through cracks and openings, especially during windy days. By sealing them, you can reduce the number of allergens and contaminants that make their way into your home, leading to a cleaner, healthier environment. This includes wildfire smoke, too, which so many of us in BC are exposed to in the summer months.
4. Environmental benefits
By reducing the amount of energy needed to heat and cool your home, you’re also reducing your carbon footprint. It’s a win-win situation: you save money, and the planet breathes a little easier. Air sealing is a simple yet powerful way to make a positive impact on the environment.
How to get started with air sealing
Now that you know the benefits, let’s talk about how you can start air sealing your home. The good news is that it’s a project you can tackle yourself with a few simple tools and materials, or you can enlist the help of a professional for more extensive sealing.
You can also watch this webinar on DIY Air Sealing that our colleagues at Community Energy Association hosted. In it, you can learn how to find typical air leakage paths and ways to improve air tightness in your home. Like in the City of Kamloops, your community might also have a program to rent thermal imaging cameras so you can really see those leaks.
Step 1
Identify the leaks The first step is to find the problem areas in your home.
Common spots where air leaks occur include:
- Around windows and doors
- Electrical outlets and switches
- Baseboards and crown molding
- Attic hatches
- Plumbing and wiring points
- Recessed lights
- Fireplaces and chimneys
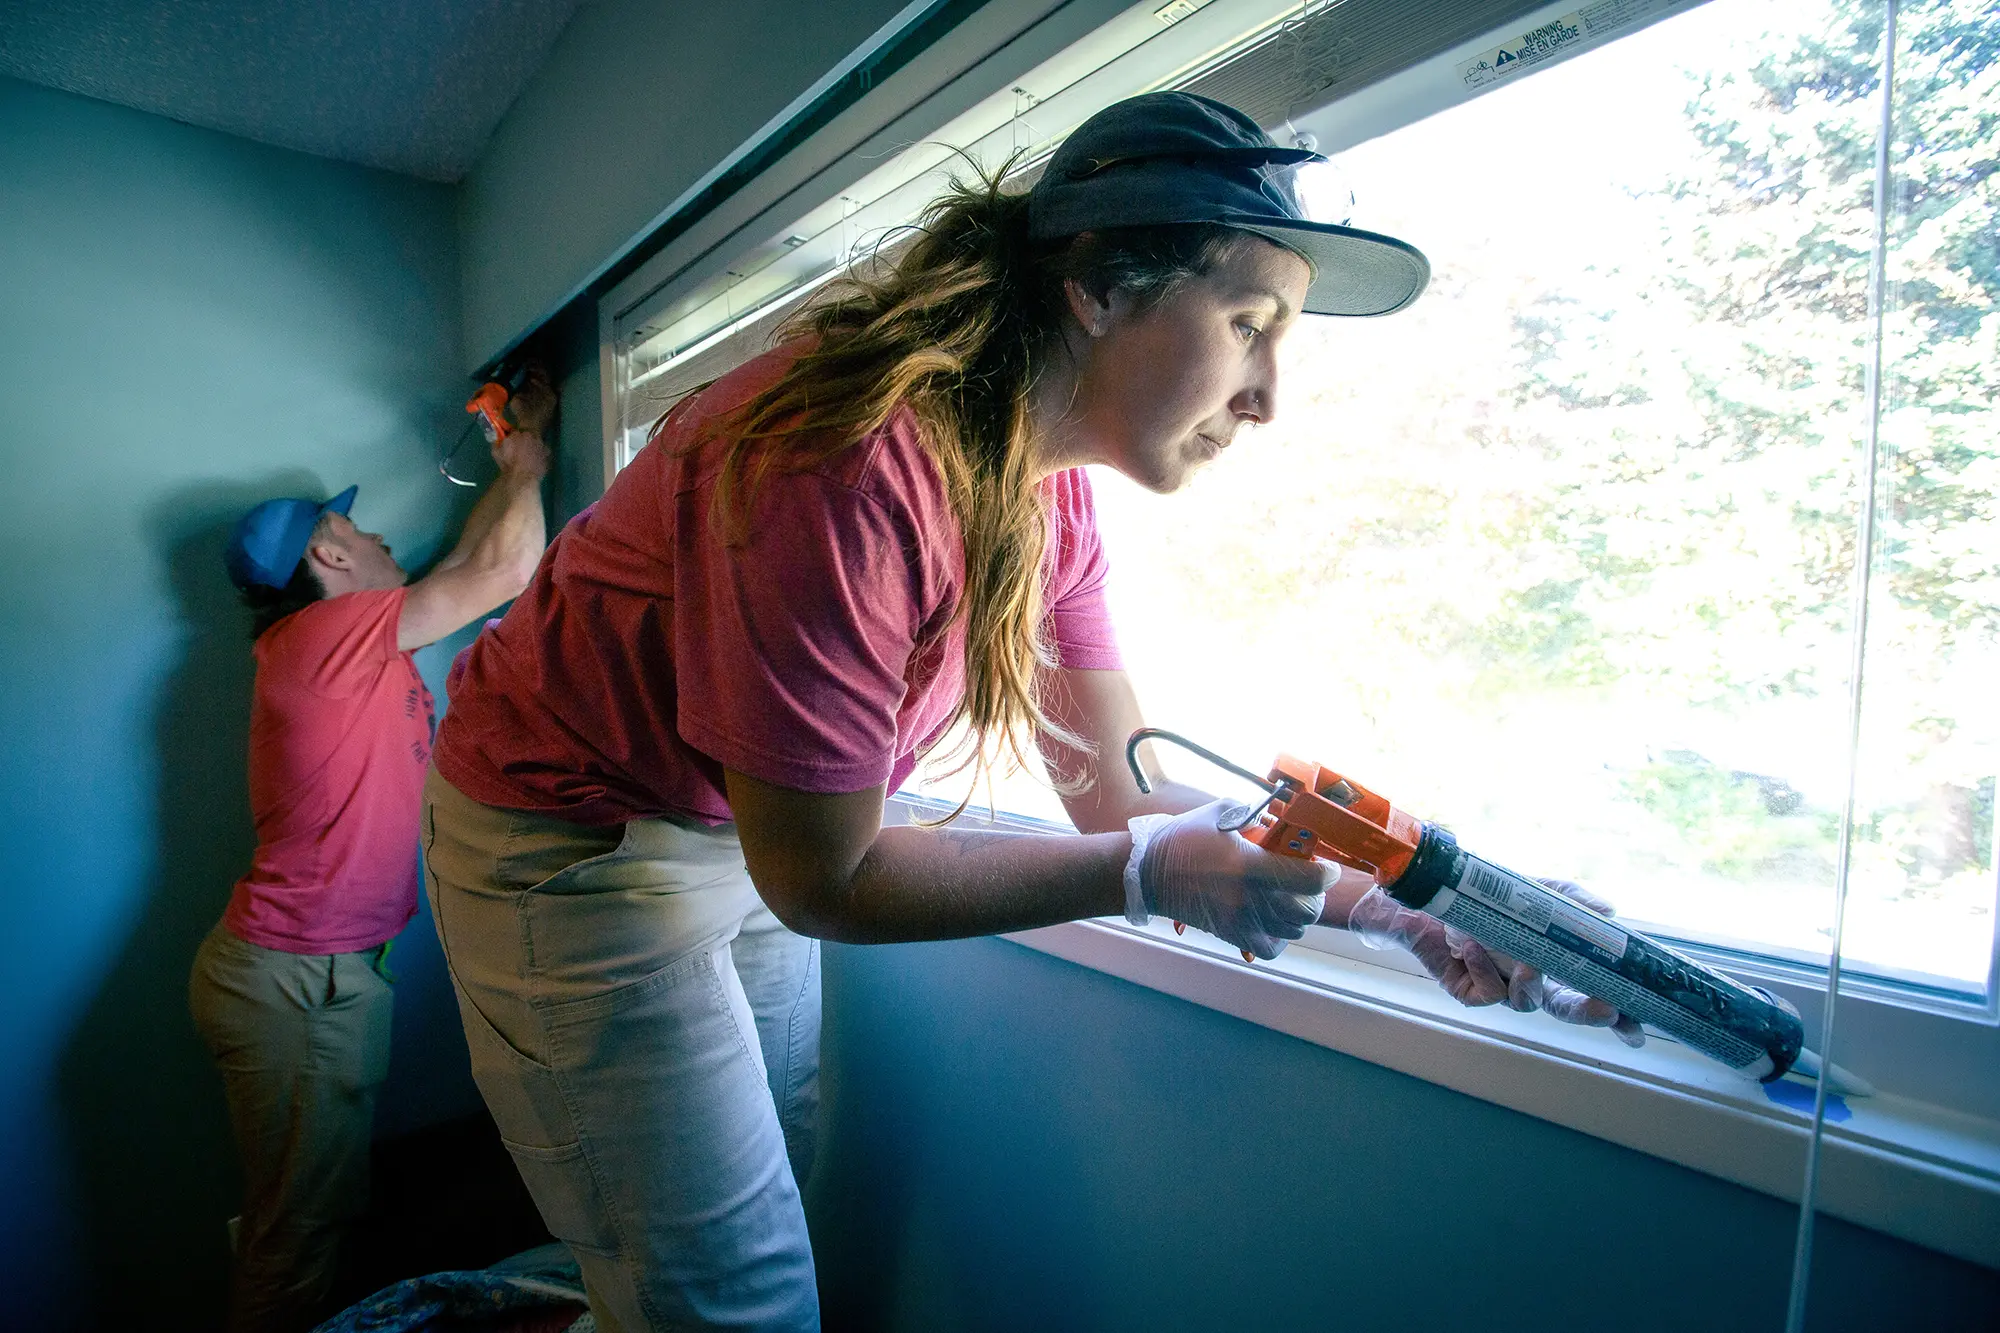
If you don’t have access to a thermal imaging camera rental program (check with your local government or local library!), you can use a candle or incense stick to detect leaks. On a windy day, hold the candle near these potential problem areas – if the flame flickers or the smoke shifts, you’ve found a leak!
Step 2
Seal the gaps
Once you’ve identified the leaks, it’s time to seal them up. Here’s how:
Caulk: Ideal for sealing small gaps and cracks around windows, doors, and other stationary components. Simply apply caulk along the gap and smooth it out with your finger or a caulking tool.
Weatherstripping: Perfect for sealing components that move, like doors and windows that need to open and close. You can find various types of weatherstripping – foam, felt, or vinyl – that you can easily cut to size and install.
Spray foam: For larger gaps around plumbing and electrical penetrations, spray foam is a great solution. It expands to fill the space and provides an airtight seal.
Outlet gaskets: Don’t forget about your electrical outlets! Outlet gaskets are inexpensive foam pads that fit behind your outlet or light switch covers, reducing drafts and heat loss.
Step 3
Seal the deal!
After you’ve finished sealing, it’s a good idea to double-check your work. Run your hand along the previously drafty areas or use the candle/incense method again to ensure you’ve effectively sealed all the gaps. A little extra time spent now can pay off in big savings down the road.
Take control of your home’s energy efficiency
Air sealing is one of the most cost effective and impactful improvements you can make to your home. It doesn’t require a big investment, but it offers substantial benefits – from lower energy bills to increased comfort and better air quality. Plus, you’ll be doing your part to reduce your home’s environmental impact, which is something to feel good about.
So, why not get started? Grab some supplies at your local home supply store and take the first step towards a more energy efficient and comfortable home. Your wallet, your family, and the planet will thank you!
Retrofit Assist works with homeowners to provide free expert support on the journey to a more comfortable and energy efficient home. Check if Retrofit Assist is available in your community.